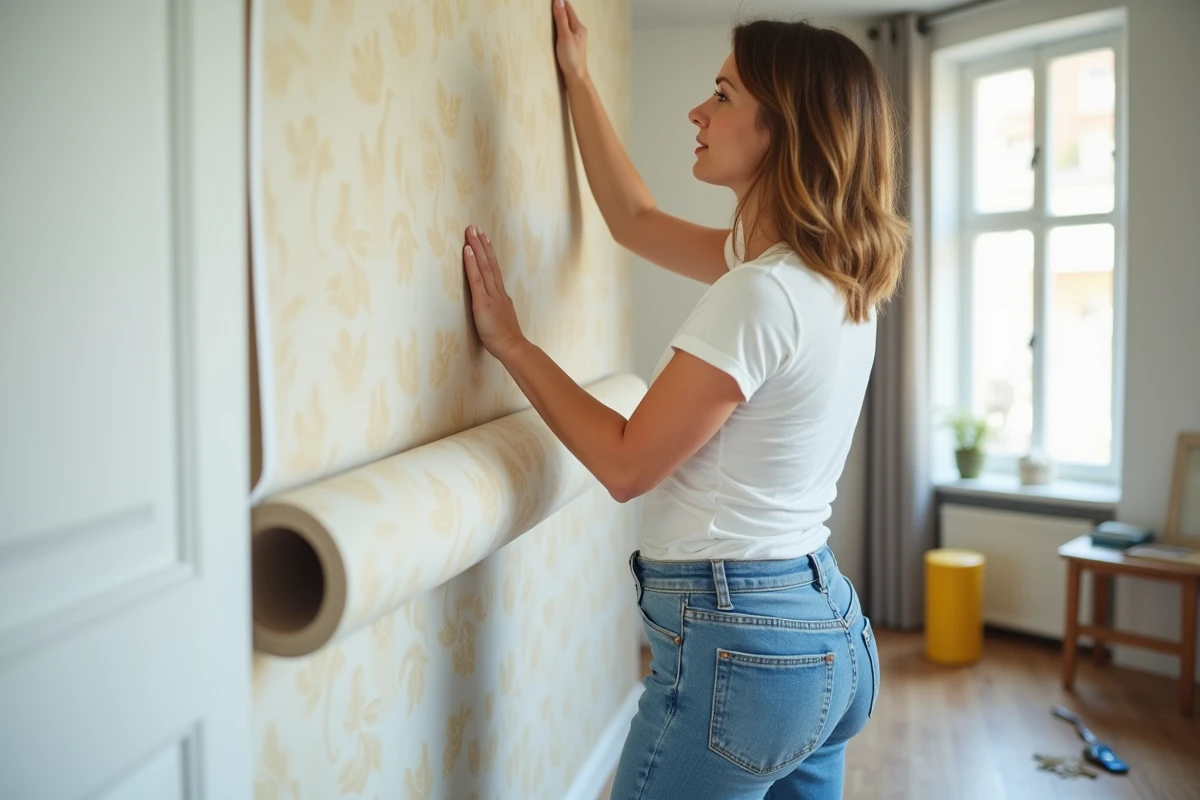
Bubbles that appear out of nowhere, entire strips that peel off three days after installation: drywall has many surprises for those who underestimate its absorption power. This material, the star of modern construction sites, challenges certainties as soon as it comes to hanging a covering. The variations between new boards and old strips complicate matters: ignoring these differences is a direct path to failure.
Why drywall requires special attention before wallpapering
Drywall has become ubiquitous, but it has its quirks: beneath the surface, the plaster absorbs glue like a sponge, then releases it unpredictably. The result: wallpaper that bubbles, detaches, or warps over the months. To avoid this scenario, improvisation must be banned. Preparing the wall is not just a simple dusting: real work begins with the first actions.
Start by inspecting each surface. Sand carefully, hunt down every crack, and fill them. A thorough cleaning prevents dust or plaster residue from sabotaging the glue. Also, keep an eye on humidity: even the slightest trace can cause peeling or, in the long run, mold. If suspicious stains appear, treat them immediately with a solution of diluted bleach to start with a healthy base.
The real key: apply a suitable primer. Whether it’s a bonding primer or a sealer, this film regulates the plaster’s absorption and prepares the ground for the glue. Too often overlooked, this step makes all the difference: a dry, smooth, and healthy surface ensures a lasting result.
To delve deeper into each step, you can consult the tips for wallpapering on drywall. You will find practical tips to adapt your methods to each situation and avoid the pitfalls that ruin everything.
What pitfalls to avoid and what tips facilitate surface preparation
Successfully installing on drywall first means avoiding the most common blunders. Surface preparation concentrates all the stakes: neglecting this phase exposes you to visible defects and a shortened lifespan of the covering.
Errors to avoid
Here are the main mistakes to watch out for before starting:
- Forgetting to dust: on a dirty wall, the glue won’t adhere. A meticulous cleaning is essential.
- Leaving holes or cracks: fill them with filler, then finish with a smoothing compound for a perfectly flat surface.
- Rushing the work around outlets, switches, or radiators: turn off the power, make clean and secure cuts to avoid any snags or electrical risks.
- Using an inappropriate glue: each type of wallpaper requires its formula. Check the manufacturer’s recommendations before you start.
Tools and tips for a flawless surface
To achieve a professional result, a few tools and methods really make a difference:
- Prepare all the materials: wallpaper brush, smoothing brush, sharp cutter, metal ruler, plumb line, wallpaper roller. Each of these tools ensures precise action.
- Spread the glue evenly. Work from the center to the edges with the brush or spatula to push out air and avoid the formation of bubbles.
- If your wallpaper has patterns, number the strips before installation and check their alignment: a logical order avoids mismatched seams and sequencing errors.
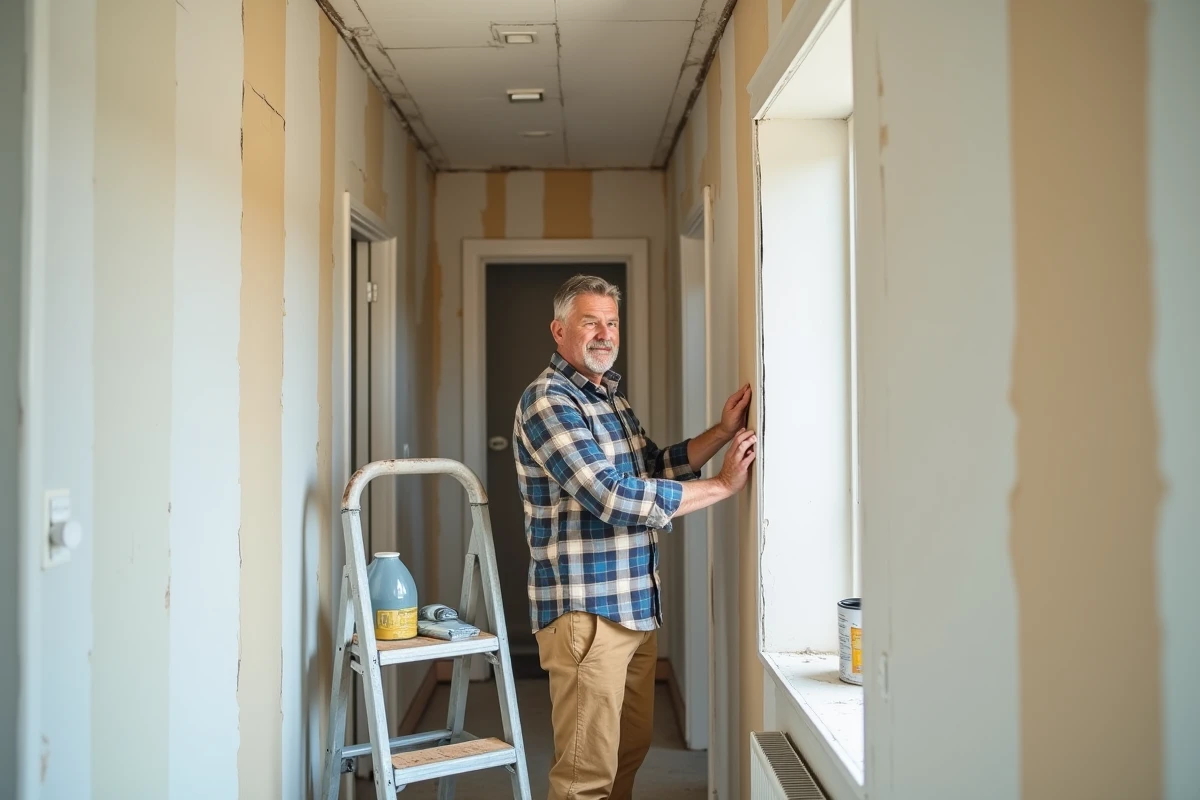
Key steps for a flawless wallpaper installation on drywall, even for beginners
Mastering the installation of wallpaper on drywall is not miraculous, even without experience. It all starts with a perfectly prepared surface. For each room, choose the most suitable wallpaper: non-woven wallpaper makes installation easier and hides small defects, while vinyl wallpaper is suitable for humid areas. If you’re aiming for a quick makeover or a piece of furniture, pre-pasted or self-adhesive options are valuable allies.
Draw a vertical line with a plumb line to install the first strip straight. Apply the specific glue (on the back of the strip or directly on the wall, depending on the product chosen) consistently: push out air bubbles from the center to the edges using the smoothing brush. Cut off excess neatly with a cutter, guided by a metal ruler: the finish is immediately noticeable.
The alignment of patterns requires constant attention: number each strip, adjust the designs to the millimeter. If the technique seems uncertain, it’s better to hire a professional installer. Finally, to simplify future changes or maintenance, prefer a non-woven or self-adhesive covering: they can be removed in a flash without tearing the surface.
The wall transforms, the room does too: sometimes it just takes a precise action and a bit of method to change the everyday, without ever compromising the decor’s durability.